Configure Exalead CloudView Using the Setup Wizard
Complete the Exalead CloudView installation by performing some additional setup using the setup wizard.
1. Go to http://<HOSTNAME>:<BASEPORT+1>/setup.
The
Welcome screen opens.
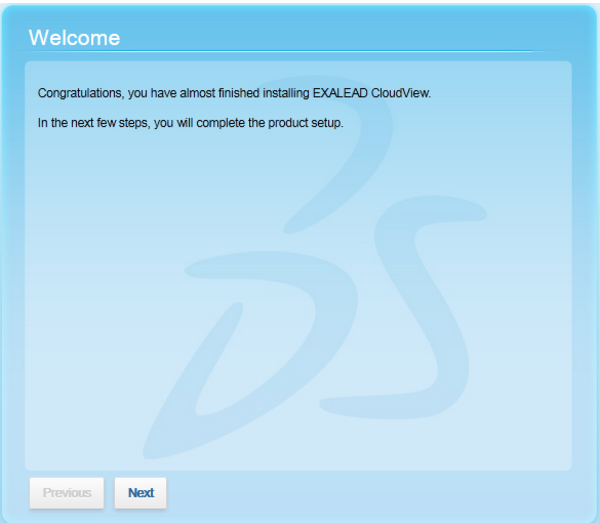
2. On the Welcome screen, click Next.
The
Processing screen opens.
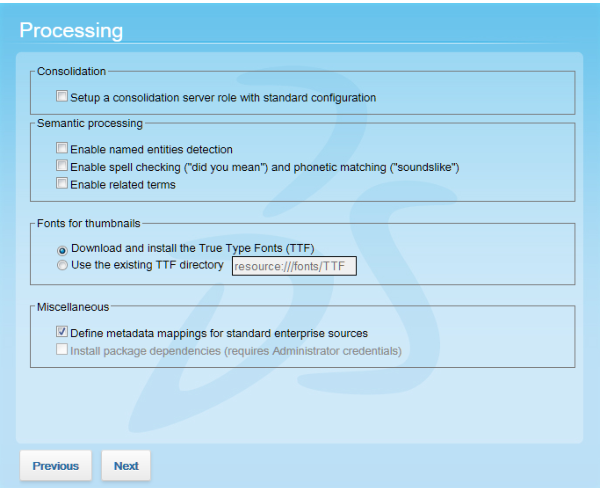
3. Clear the Define metadata mappings for standard enterprise option to install Exalead CloudView with an empty document class.
4. Select Install package dependencies.
5. You will be taken to a separate screen to log in. Enter the Administrator user name and password, and then click Next.
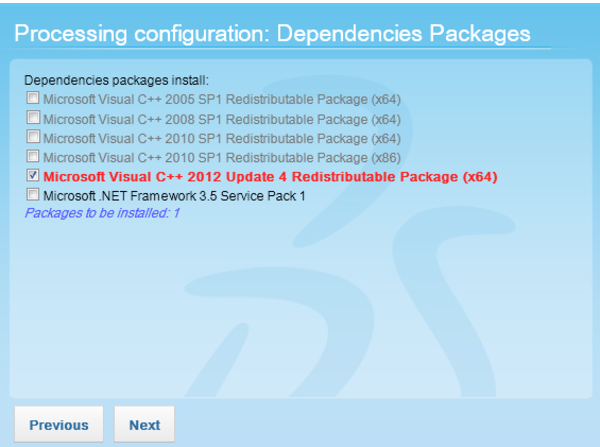
6. As you have selected Install package dependencies, you will see a list of all dependency packages to be installed. Click Next.
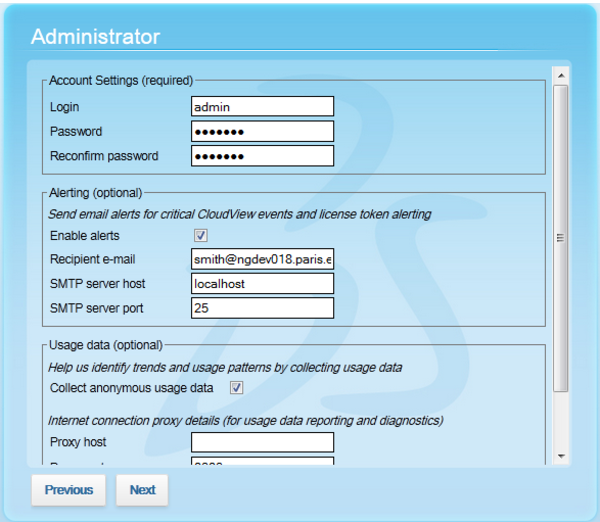
7. On the Administrator screen, set up the options for:
◦ Account settings: specify the login and password to use when accessing Exalead CloudView.
◦ Alerting (optional) for critical Exalead CloudView events and license issues: specify the recipient email account settings.
◦ Reporting (optional) on usage data and diagnostics: specify the proxy host and port.
◦ Click
Next when complete.
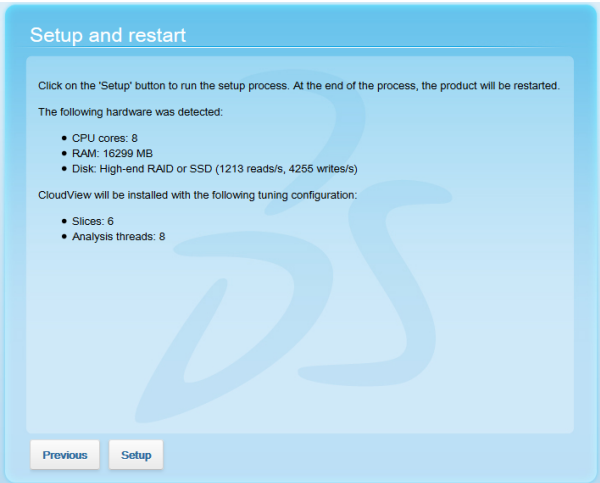
8. On the Setup and restart screen, click Setup.
This runs the setup process and then restarts Exalead CloudView automatically.
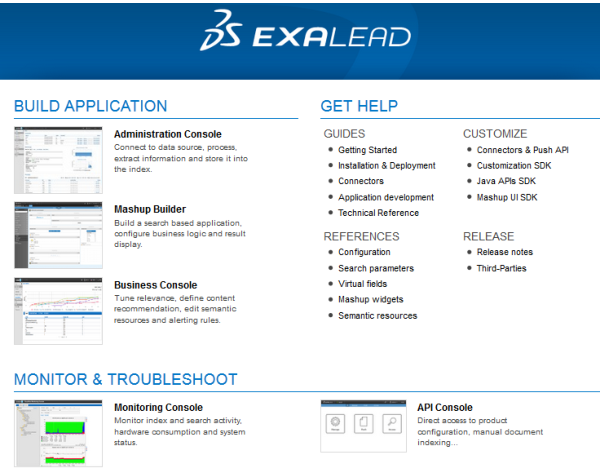
When you see the following screen, the setup is complete.
Figure 2. Exalead CloudView Services page